There are some times that I really regret not having studied latin. Just this morning, for example, I was trying to decipher the sentence “scribite, scriptores, ut discant posteriores”. Luckily, there was a translation just below the text. It means, “write, writers, so that posterity may learn.”
I found this sentence in Marc Drogin’s “Medieval Calligraphy, its history and technique” which I have been reading recently. (It’s a very interesting book, by the way. If you’re interested, you can find it on online.)
To be perfectly honest, not only did I not understand the sentence in latin, I didn’t know where Notre Dame de Lyre was located either. I suppose that’s understandable, since it didn’t make it past the French Revolution. The abbey was established in the 11th century about half way between Paris and Caen. It was William FitzOsbern (Earl of Hereford) and his wife Adeliza that founded it. Just for the record, Mr FitzOsbern was a buddy to William the Conqueror! (All of this information is from my friend Wiki.)
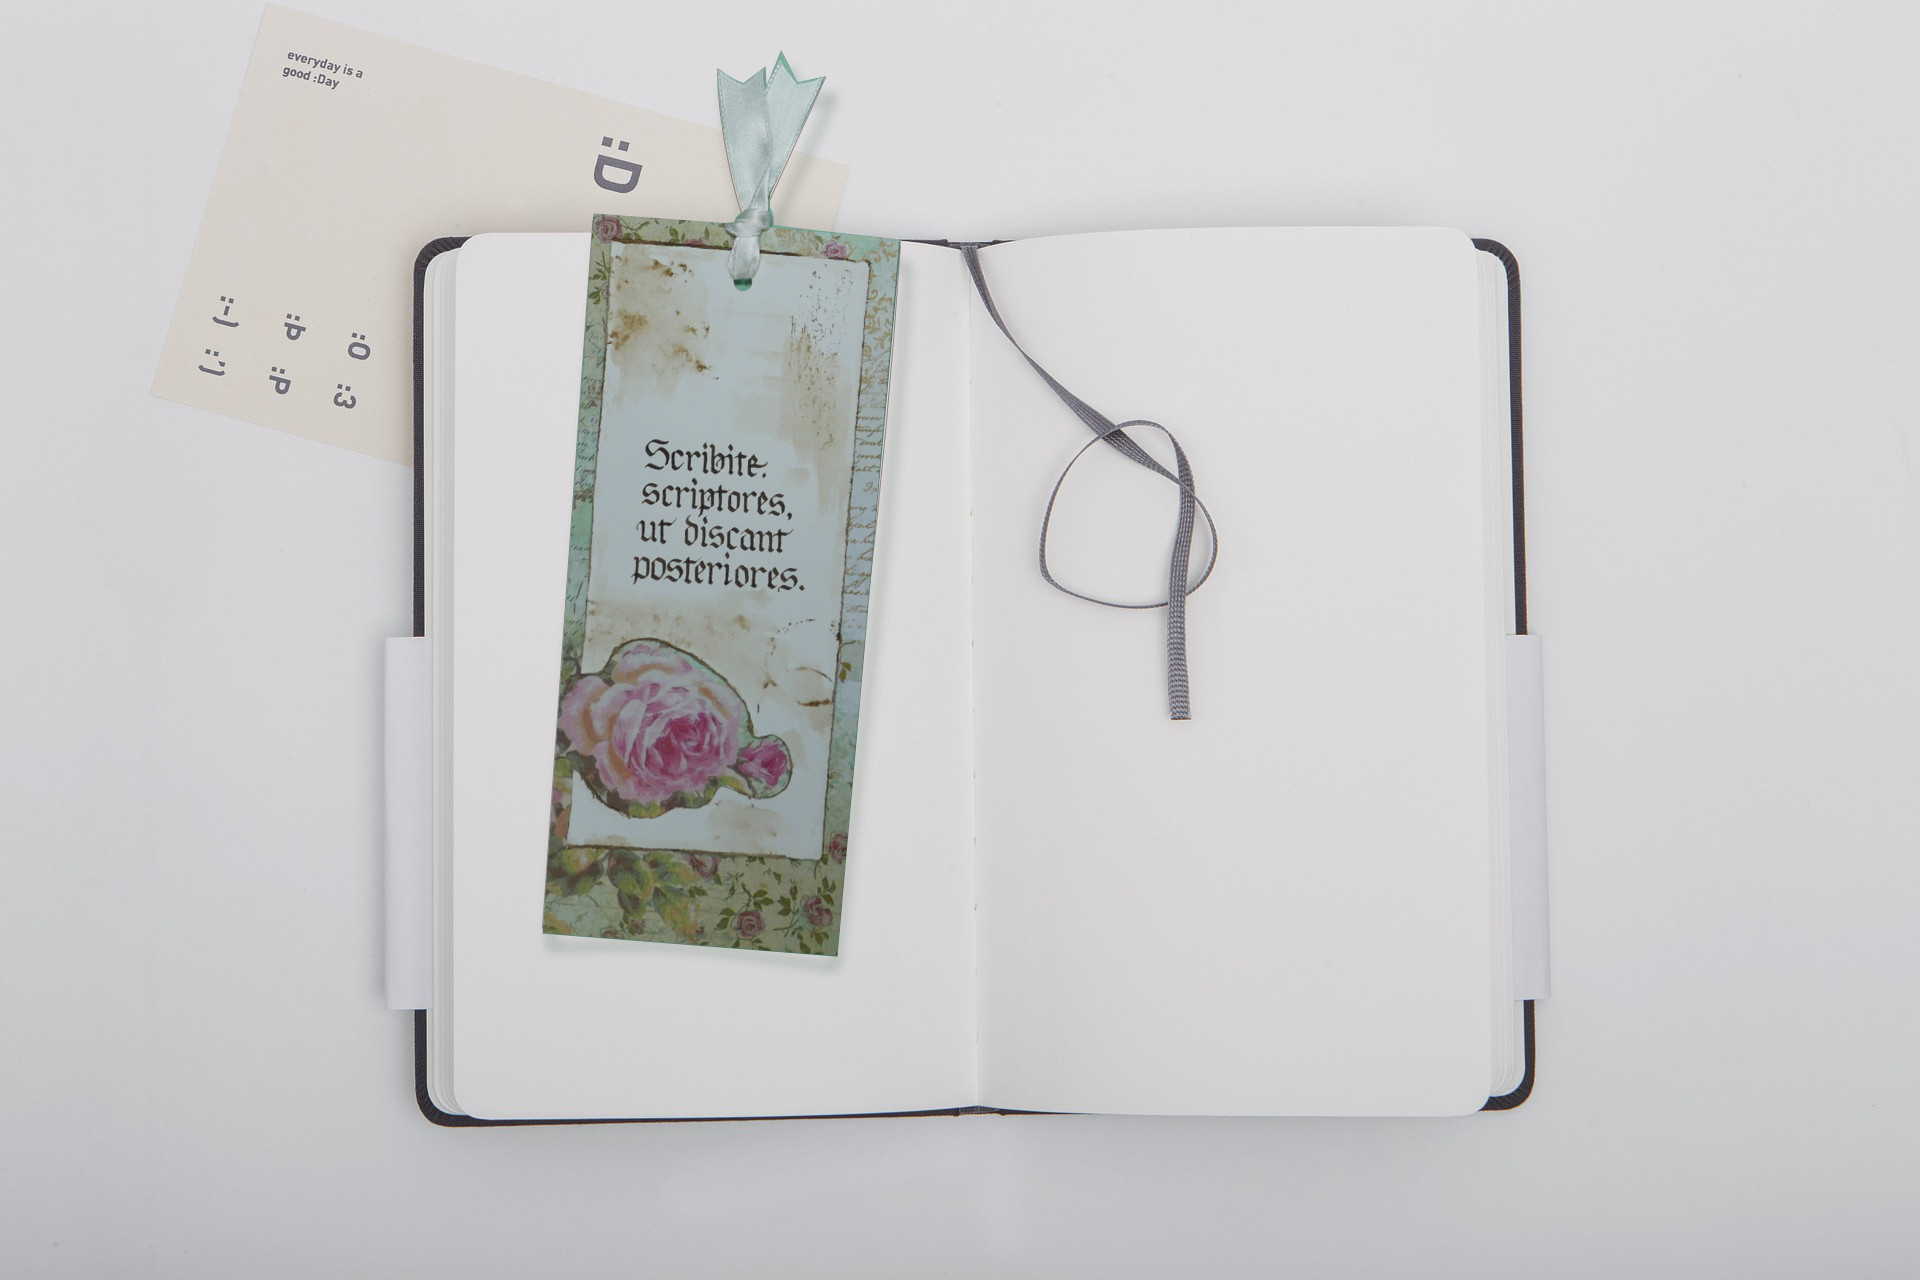
Calligraphy on what-was-to-become a bookmark
So, where was I? Ah, yes. I wrote that phrase inciting writers to write (Scribite, scriptores!) with a Brause nib, a small one, only 1.5 mm wide, on a simple scrap of Canson paper found in my drawer. As usual, it was my walnut hull ink that was within arm’s reach. At first, I wrote the text horizontally on the scrap paper, but then I decided to make a bookmark out of it, so I turned the paper around. This “marque-page” will be great to use in Marc Drogin’s book!
I’m doing the calligraphy in this video.
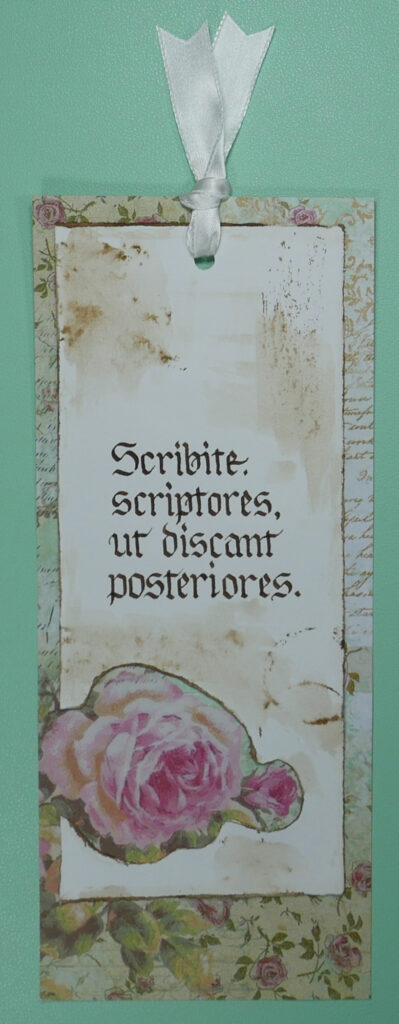
Bookmarks are a fantastic way to use your calligraphic skills. Most people that enjoy reading would love to have one of their favourite quotes or sayings on a pretty bookmark that they could use regularly. It’s a project that I propose quite often in classes that are doing an “Introduction to calligraphy” workshop. Since I generally teach this same Simple Gothic hand in schools, that’s the calligraphic style used on the bookmarks. Follow this link to see an example.
Here’s how I made the bookmark
Below are the steps that took me to the finished bookmark, as shown in the photo:
- I waited patiently for the walnut hull ink to dry.
- I then made fold lines at the desired finished dimensions (8.5 x 20.5 cm).
- I wet a relatively clean paintbrush with clean water and ran the water along the fold lines with the brush then I carefully ripped the Canson paper for the rough-edged effect.
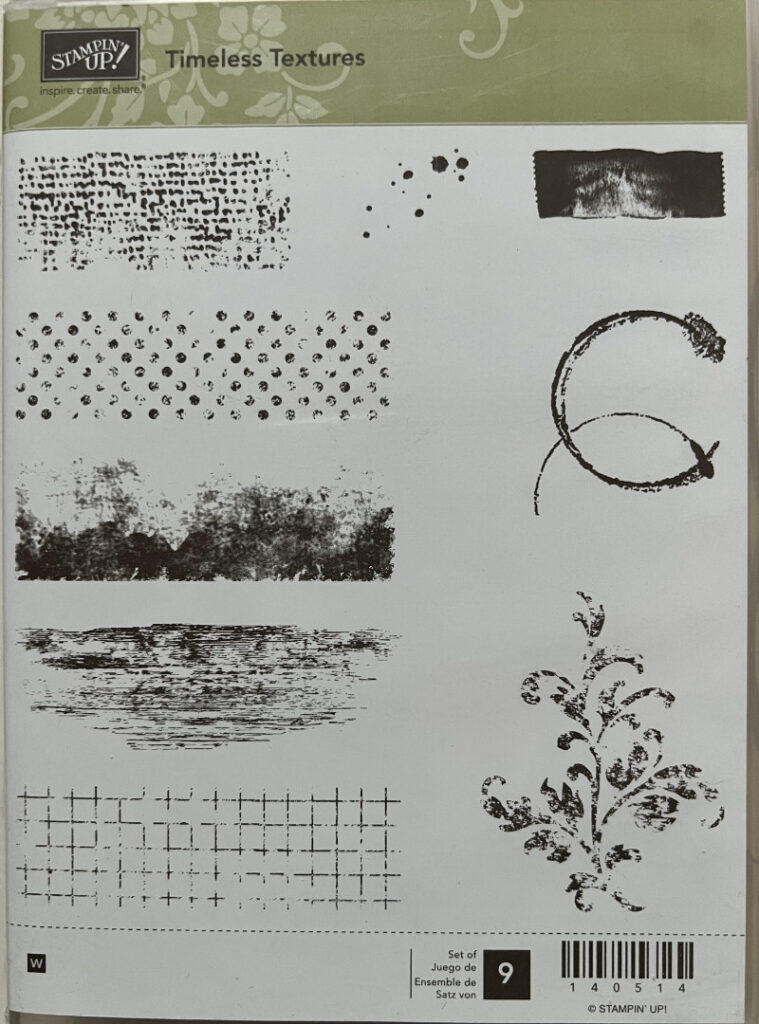
- With the walnut hull ink, I used some “grunge” stamps to add some effects to the white paper, which were later blurred with the wet paint brush.
- The white paper with the text in calligraphy was glued onto a piece of double sided scrapbooking paper that measures 10 x 25 cm. Since the paper had that pretty rose on it, I traced the shape of the rose onto the white paper in order to cut it away and let the rose show through.
- To finish, I punched hole, added a piece of ribbon and … voilà!
